CML is no longer a Cisco-only sandbox. With a bit of setup, you can drop Arista’s vEOS-lab into your topology and get real EOS CLI alongside your IOS-XE nodes, perfect for cross-vendor labbing, VXLAN/EVPN testing, or studying for Arista’s ACE certifications.
Here’s how I got it running.
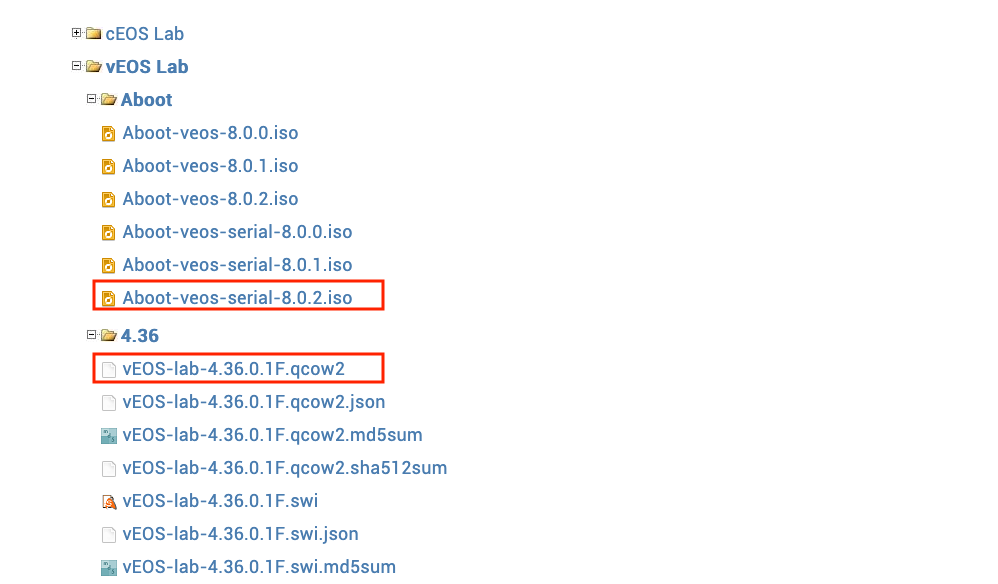
Step 1: Download the Images
You’ll need a free Arista account. Log in at arista.com, then go to Support → Software Download and find the vEOS-lab section. Download two files:
- Aboot — the bootloader (grab the serial variant, e.g.
Aboot-veos-serial-8.0.2.iso) - vEOS-lab — the actual EOS image, provided as a
.qcow2directly (no conversion needed)
Step 2: Convert the Aboot Image
The Aboot file downloads as an ISO and needs to become a .qcow2. I did this on a Mac with Homebrew:
brew install qemu
cd ~/Downloads
qemu-img convert -f raw -O qcow2 Aboot-veos-serial-8.0.2.iso Aboot-veos-serial-8.0.2.qcow2
Verify the result:
qemu-img info Aboot-veos-serial-8.0.2.qcow2
The vEOS qcow2 needs no conversion — it’s ready to upload as-is.
Step 3: Create the Node Definition
In CML, go to Tools → Node and Image Definitions → + Add and define a new node. Here’s the full YAML I used:
id: Arista-vEOS
boot:
  timeout: 20
  uses_regex: false
sim:
  linux_native:
    libvirt_domain_driver: kvm
    driver: server
    disk_driver: ide
    ram: 2048
    cpus: 2
    cpu_limit: 80
    nic_driver: e1000
general:
  nature: switch
  description: Arista vEOS
  read_only: false
configuration:
  generator:
    driver: null
device:
  interfaces:
    serial_ports: 1
    physical:
      - Management1
      - Ethernet1
      - Ethernet2
      - Ethernet3
      - Ethernet4
      - Ethernet5
      - Ethernet6
      - Ethernet7
      - Ethernet8
    has_loopback_zero: true
    default_count: 9
    loopback:
      - Loopback0
ui:
  label_prefix: vEOS
  icon: switch
  label: vEOS
  visible: true
inherited:
  image:
    ram: true
    cpus: true
    data_volume: true
    boot_disk_size: true
    cpu_limit: true
  node:
    ram: true
    cpus: true
    data_volume: true
    boot_disk_size: true
    cpu_limit: true
schema_version: 0.0.1
Step 4: Upload Images and Create an Image Definition
Back in Node and Image Definitions, click + Create New Image Definition → Manage Image Uploads and upload both files. Then create the image definition with two disk images, in this order:
- Disk 1 — the Aboot qcow2
- Disk 2 — the vEOS qcow2
Link the image definition to the Arista-vEOS node definition and save.
Step 5: Boot It Up
Drop a vEOS node into a topology and open the console. You’ll see Aboot hand off to the EOS kernel, then a login prompt:
Aboot 8.0.2-32351763
Booting flash:/vEOS-lab.swi
...
Welcome to Arista Networks EOS 4.32.1F
Log in with username admin and no password, then enable to reach privileged mode. Run show version to confirm everything’s healthy. You will also need to run zerotouch cancel to stop the zerotouch process.
Hopes this helps and happy labbing!